St. Patrick’s Day is a few days away and I am beyond excited to share my gluten-free Irish soda bread recipe. If you follow me on Instagram, you may know that I have been testing out this recipe for weeks. I set a goal for myself to share this recipe in time for St. Paddy’s day. After many failed attempts, I was definitely getting discouraged. I swear I was close to tears this past Sunday when I finally got this recipe right. I am so proud of it. I called my mom right away with a mouth full of bread.
Irish Soda Bread is supposed to an easy, throw together recipe. Its made of a few simple ingredients that were considered common in Irish households when this bread first came to be. I also learned that traditional Irish soda bread is plain – no raisins! Now that I got my recipe down pat, I do think it is pretty simple, but I am not sure how common it is to find buttermilk in someone’s fridge.
I haven’t had Irish soda bread in about 7 years, so I wasn’t sure what it should taste like. I started off with Ina Garten’s Irish Soda Bread recipe {substituting all purpose flour for GF flour} and it did not turn out well. Ina is amazing, so I am sure her recipe turns out great with regular all-purpose flour. I also tried a recipe that I received from someone who came to my bridal shower. I am all for experimenting when I am cooking, but doing the same with baking was a big challenge. This was also my first attempt ever at Irish soda bread.
My first few attempts lead to very dense bread that hardly resembled Irish soda bread. I wasn’t sure if it was due to my oven {which is gas}, the flour or my technique. I first noticed improvements when I chilled the butter, buttermilk and egg. Next, I saw improvement the longer I chilled the dough before baking. But the biggest improvement came from my choice of flours. King Arthur’s Measure for Measure flour was a game changer! I highly recommend using this flour for my recipe. It totally changed the texture of my bread.
I had been using Bob’s Redmill 1:1 flour {which has worked great in other recipes} but I found that it was what cause my bread to be dense and not bake evenly. I changed up the baking temperature and bake time, but it never seemed to bake correctly. Regardless of the flour this bread bakes with a lot of cracks, so I didn’t find it necessary to score the dough with an “x” before baking it {I tried that too}.
If you try my recipe, I would love to know! Please leave a comment below or on my Instagram @redroseandhoney.
Disclaimer: I am participant in the Amazon Services LLC Associates Program, an affiliate advertising program designed to provide a means for me to earn fees by linking to Amazon.com and affiliated sites. All opinions/recommendations are my own.


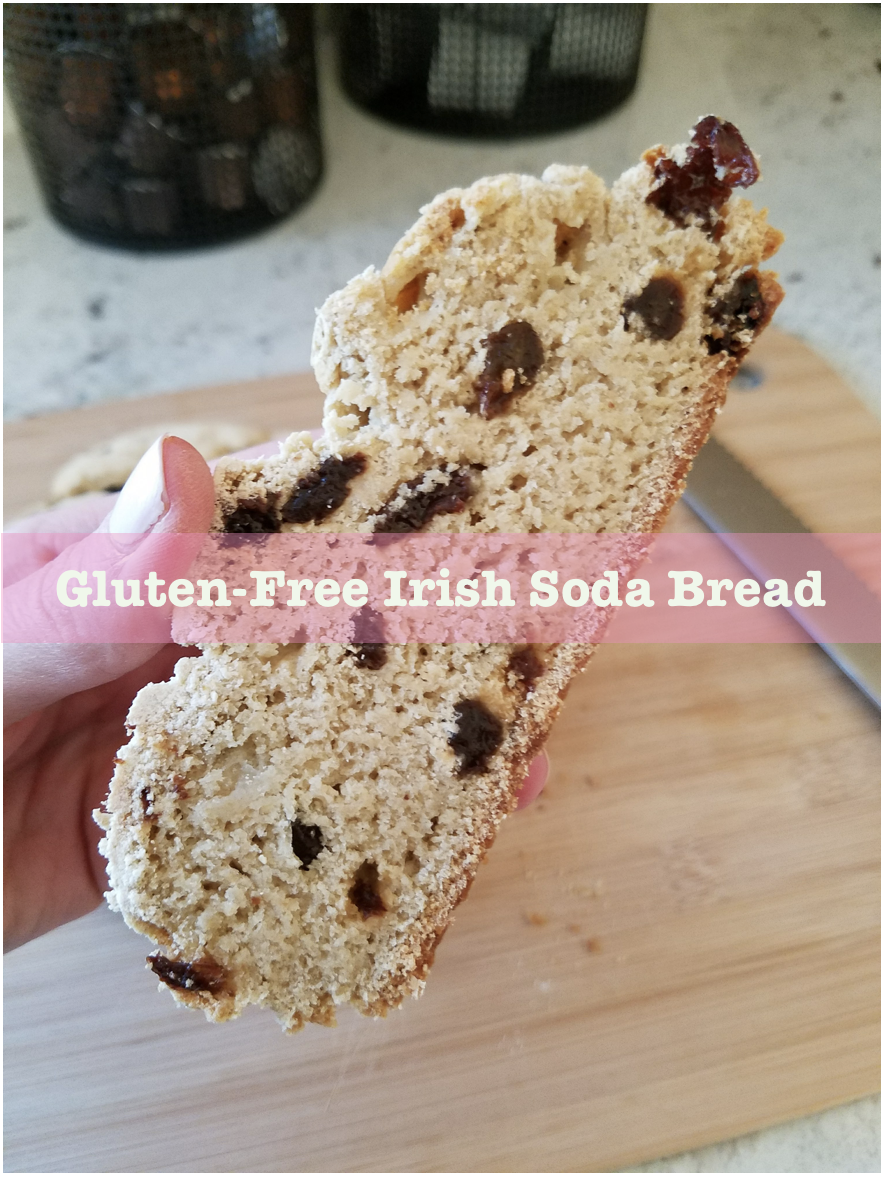
Gluten-free Irish Soda Bread
Ingredients
1 egg (very cold)
2 tbsp unsalted butter, cubed (very cold)
2 cups gluten-free flour blend
1/8 cup coconut sugar
5/8 tsp baking soda
3/4 tsp salt
1/2 cup raisins
Directions
– Beat egg in buttermilk with a fork.
– Place in butter and buttermilk mixture in the freezer for about 10 minutes to chill while you prepare dry ingredients. Do not let it freeze!
– In a stand mixer combine dry ingredients on low speed, adding raisins last.
– Slowly added buttermilk mixture and butter on low speed. Combine well, but don’t over mix. Dough should be sticky.
– Turn dough out onto floured surface (flour your hands too), lightly kneading dough to form a ball. Do not score with “x”
– Chill dough in fridge for at least 1 hour.
– Pre-heat oven to 400 degrees.
– Once oven is ready, place dough on a parchment lined baking sheet and place in oven.
– Bake for 20 minutes at 400 degrees then turn heat down to 350, baking for another 30 minutes.
– Test bread with toothpick. Once it comes out clean, allow bread to cool slightly then transfer to cooling rack. Allow bread to cool for at least an hour before cutting.
– Serve plain, with powdered sugar or with Irish butter.