Updated: February 2, 2026
Are you looking for an easy gluten-free dinner? You’ve come to the right place! In this post, I share one of my favorite one-pot comfort dinners – chicken pot pie. I have recreated this childhood favorite totally from scratch and completely gluten-free.
My mom’s chicken pot pies were one of my favorite dinners before my gluten-free life. In college, she would send me back to school with personal size pot pies to keep in my freezer. They quickly became one of friends favorites too! It is probably the only recipe she hasn’t converted to be gluten-free. As a result, it has been a long time since I’ve enjoyed this meal….until now.
I did a little research on chicken pot pie recipes to better understand how to make one from scratch. My main goal was to make sure it turned out as delicious as my mom’s. From my research I learned a Bechamel sauce would be a key player in the perfect consistency. It’s a white sauce made from butter, flour, and milk or cream. It is common in meals that have a thick, creamy consistency. I am so proud of how this recipe turned out. I didn’t just like this dinner; I loved it! I felt like I could have sat at the table all night eating. I was also used just one pot for this whole meal — my beloved Le Creuset Dutch oven.
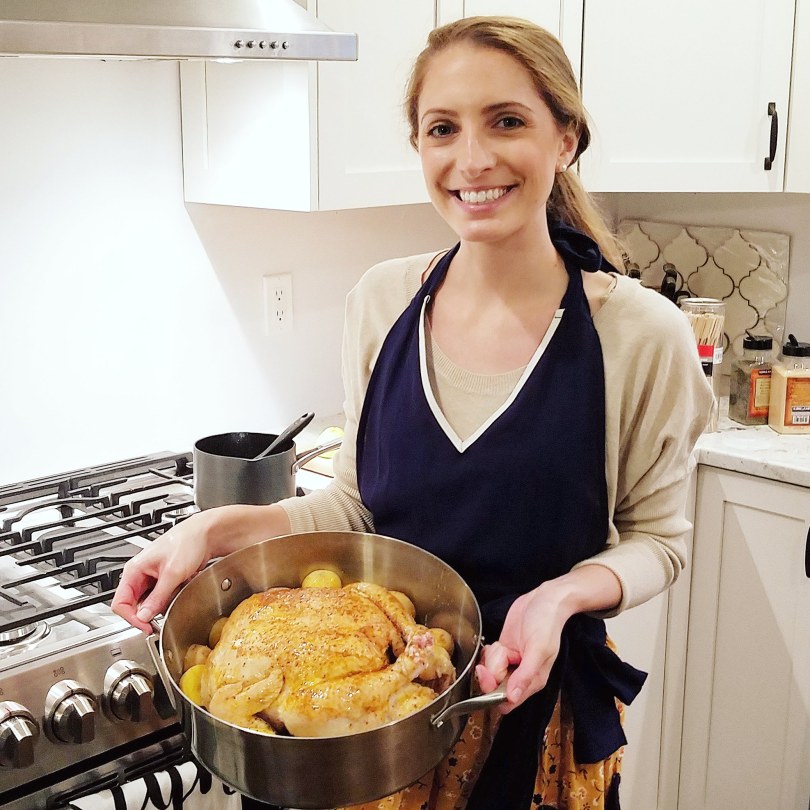
You can put this dinner together in about an hour if you use a rotisserie chicken. It also works if you have already roasted a chicken yourself. Lucky for me, I made my first roast chicken a few days before attempting this pot pie.
Tips:
- Use rotisserie chicken to save time
- Make it a one pot meal by using an oven-safe dutch oven (shop affiliate link: Le Creuset Dutch Oven)
Substitutes:
- Any type of chicken should work – rotisserie, roast chicken or diced cooked chicken breast
- Swap out the veggies listed in the recipe for mixed frozen veggies
- Add diced zucchini for extra veggies without altering the taste. Note: Excess water from large zucchini may change the consistency of the filling, so opt for smaller zucchini if possible.
- In a pinch, I have swapped out heavy cream for light cream or whole milk
- Swap the Bisquick biscuit topping for a gluten-free puff pastry like Sweet Loren’s


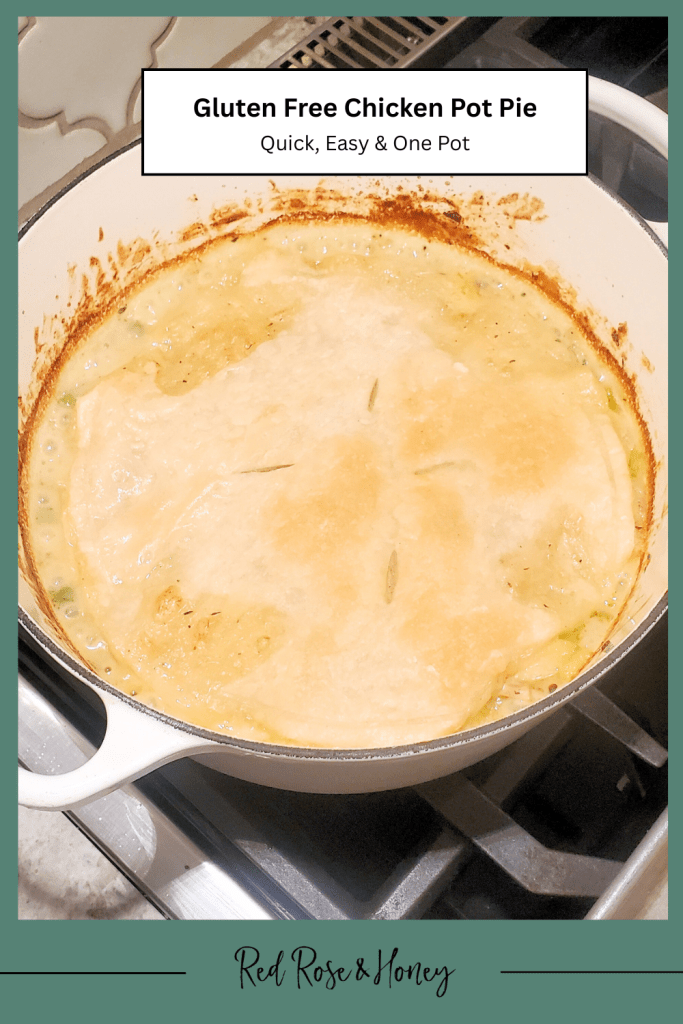
Chicken Pot Pie with Gluten-Free Biscuit Topping

Ingredients
Filling- 1 Small Onion
- 2 TBSP Unsalted Butter
- 1/8 TSP Black Pepper
- 1/2 TSP Kosher Salt
- 1/2 TSP Dried Thyme
- 1/2 TSP Dried Parsley
- 8oz. Organic Heavy Cream
- 2 TBSP Gluten-Free Flour (I like Bob’s Redmill 1-to-1 GF Flour)
- 8oz. Unsalted Chicken Stock
- 2 C Cooked Chicken
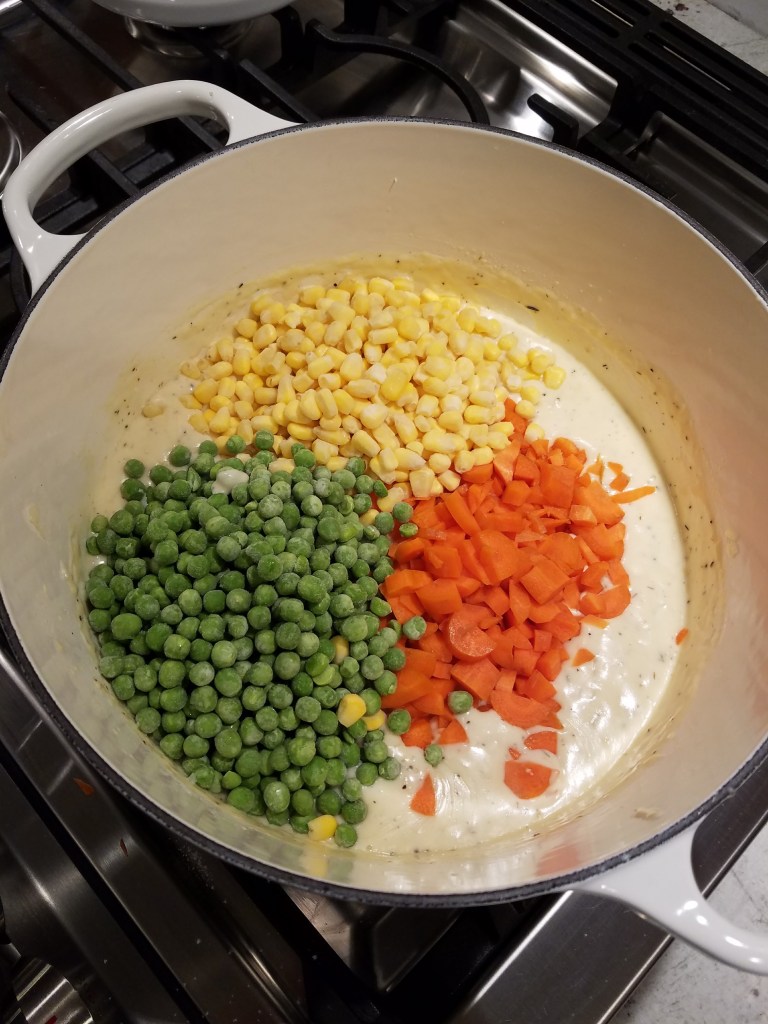
- 3.6 C Frozen Mixed Veggies
Topping (Recipe is Bisquick’s)
- 2 TBSP Unsalted Butter, Melted
- 3/4 C Gluten-Free Bisquick
- 1/2 C Almond Milk
- 1 Egg
Directions
- Pre-heat oven to 350 degrees
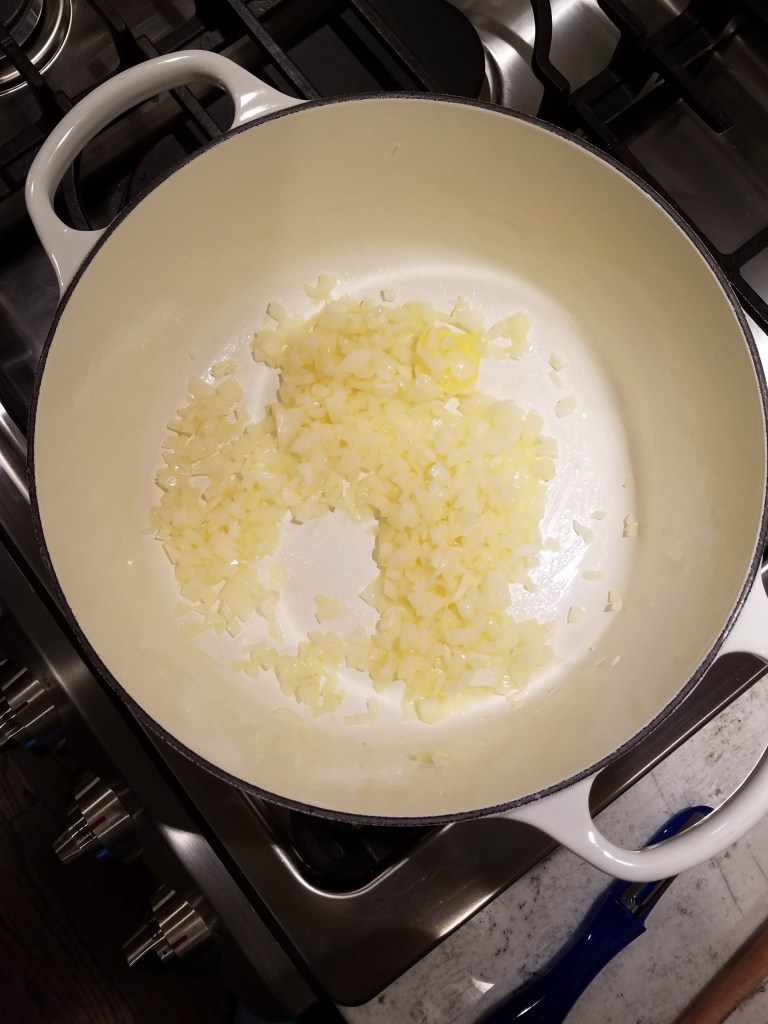
- Melt butter in Dutch oven then add chopped onions and cook until softened.
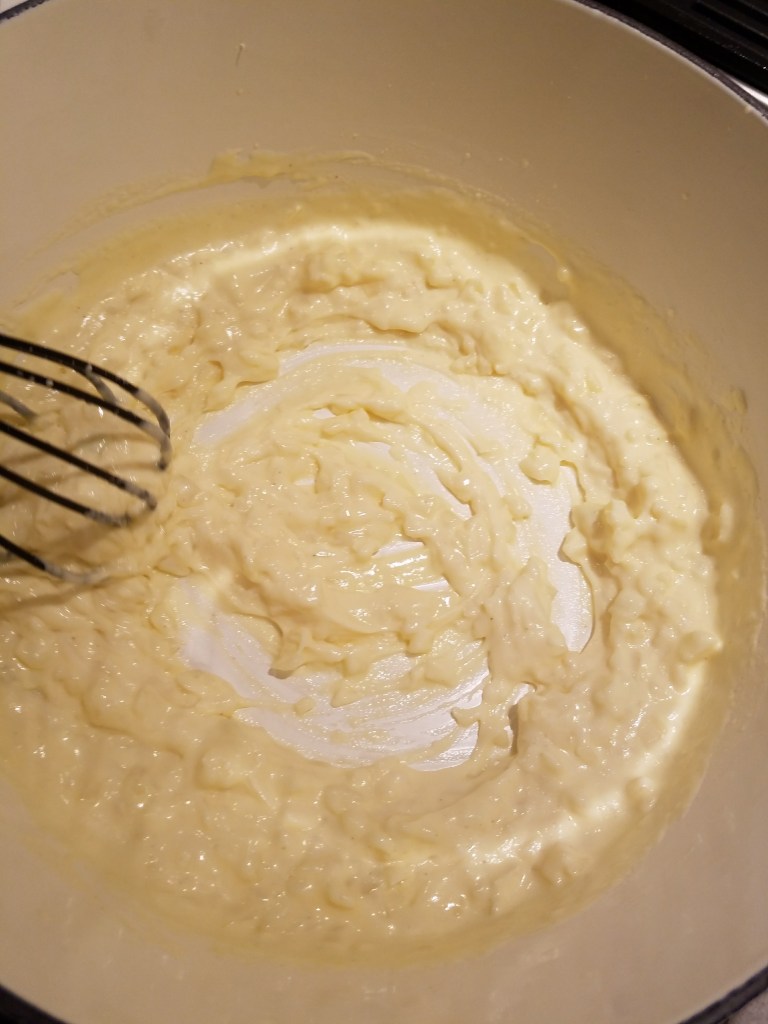
- Whisk in flour then heavy cream. Continue to whisk constantly until mixture thickens then add black pepper, salt and thyme. -Add chicken stock and bring to a boil then turn heat to low. -Add veggies and cook until softened, about 10 minutes. -Add chicken and Mix well then turn off heat. -Prepare biscuit topping following the Bisquick recipe. Place spoon fulls of the batter around the Dutch oven.
- Cook in the oven for 30 minutes or until topping is golden.
- Add an additional sprinkle of thyme and/or parsley if desired.
- Notes
- Rotisserie chicken is a HUGE time saver!
- Frozen or fresh mixed veggies will work. If you use fresh veggies, just remember to dice them small and extend the stove top cooking time, so the veggies have time to soften.

Like this post? Check out these posts for more gluten-free recipes!

Gluten-Free Caramelized Onion & Gruyère Burgers
These gluten-free caramelized onion and Gruyère burgers are juicy, flavorful, and easy to make. A simple, family-friendly burger recipe perfect for weeknights

Chicken Salad with Pecans and Grapes
After many attempted recipes, I think I finally found the best use for this common kitchen appliance – pulled chicken! It’s a great base for a variety of seasonings and marinades. Now that I have figured that out, the slow cooker is my go-to for work week lunch meal prep. I have been making pulled…

Buffalo Chicken Burgers
Hi friends! Today I am sharing one of my all time favorite recipes – Buffalo Chicken Burgers. This recipe is easy and can be made right in your kitchen; no BBQ grill needed. In fact, I think this recipe actually comes out better on the stove top than the grill. The consistency of a chicken…